
This page shows various stages of a hydraulic lime pointing job carried out in Lanarkshire during the summer of 2018.
Every picture on this page can be expanded by clicking on it. Click on the picture again to reduce it.
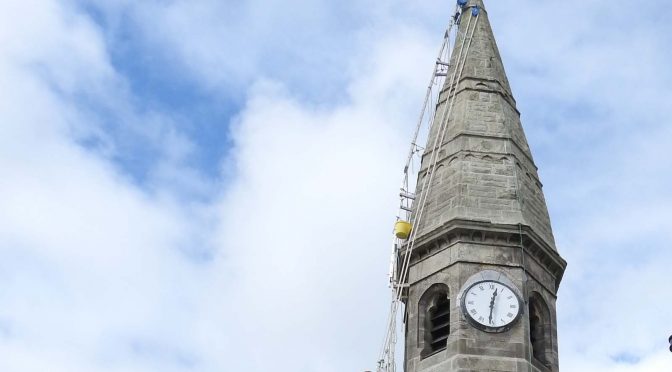
These pictures were taken before our job started. A local went up on a cherry picker for a look and noticed how open the beds and joints on the spire were. We were then asked to price the required hydraulic lime pointing work.
As you can see the spire does need pointed. If this erosion of the mortar is left unchecked long enough the stones will eventually become unstable as their mortar bad has been washed away, and the spire will leak very badly.


We took these pictures when we arrived on site but hadn’t started work yet.
We removed all the moss growth from the spire during the job.


Raking out is critical during a lime pointing job. It’s just as important as correct application of the mortar. If the joints aren’t raked out to a good depth the lime will be too thinly applied and have no strength – it will simply be weathered off within a few short years.
Looking down the spire at newly raked out joints. Throughout the whole spire we had an average depth of around 25 to 30mm, which is what you want for a lime pointing job that will stand the test of time.

A good straight on view showing the depth of the raking.

Another view.

Raked out joints right up at the headgear rigging. It’s difficult raking out around this equipment but it can be done with some struggling and attention to detail.

Pointing in progress now. We used a very good quality hydraulic lime binder and a quality sharp sand aggregate for this mix (both sourced from Mason’s Mortar). Building sand is needed for narrow ashlar type joints, but on joints this broad you can use a rough sharp sand (small stones in it) which increases the strength / longevity of the mortar.

Another thing that’s really important when pointing is to properly pack the joints (on bigger joints it’s known as tamping). It’s just making sure that the mortar is packed in tight right to the back of the joint. It takes a little longer but has a huge impact on how long the lime mortar will withstand the weather. If you just push the mortar in with a single pass of the tool you risk leaving big voids within the joint and only a thin skin of mortar covering these voids. A job with lots of these voids won’t last long.
This picure shows a joint filled the way it should be. It’s packed in tight with no voids.
The little white hairs sticking out of the mortar are alkali fibres bought from Masons Mortar. They strengthen the mix by virtue of the fact that they “stitch” it together. They really make a difference.

And another.

Another picture showing a part pointed joint. Again it’s packed right to the back.

Pointing.
Brushing the new pointing.

Looking up the spire at newly pointed joints. The mortar here is still fresh and will become paler as it dries.

Newly pointed joints with raked out empty joints below.

This shot shows the spire after we had fully pointed it. Note the lighter colour of the hydraulic lime now that it’s had some time to cure.

Another view – showing the full height of the spire this time.

A view of the pointed spire head.

In the bosuns chair under the newly pointed spire. At this point we were carrying out some minor pointing work on the flaring buttresses.
